|
I was asked to create three logo designs with the same concept with different elements. Some of the tools I used to create my logo is the shapes and colors. I used different fonts for each logo name. The lines that are surrounding the logo text had different colors along with the borders. The most challenging part of creating my logo was aligning the 3 shapes and texts so that they all look somewhat similar. I overcame this challenge by grouping each shape and align them. 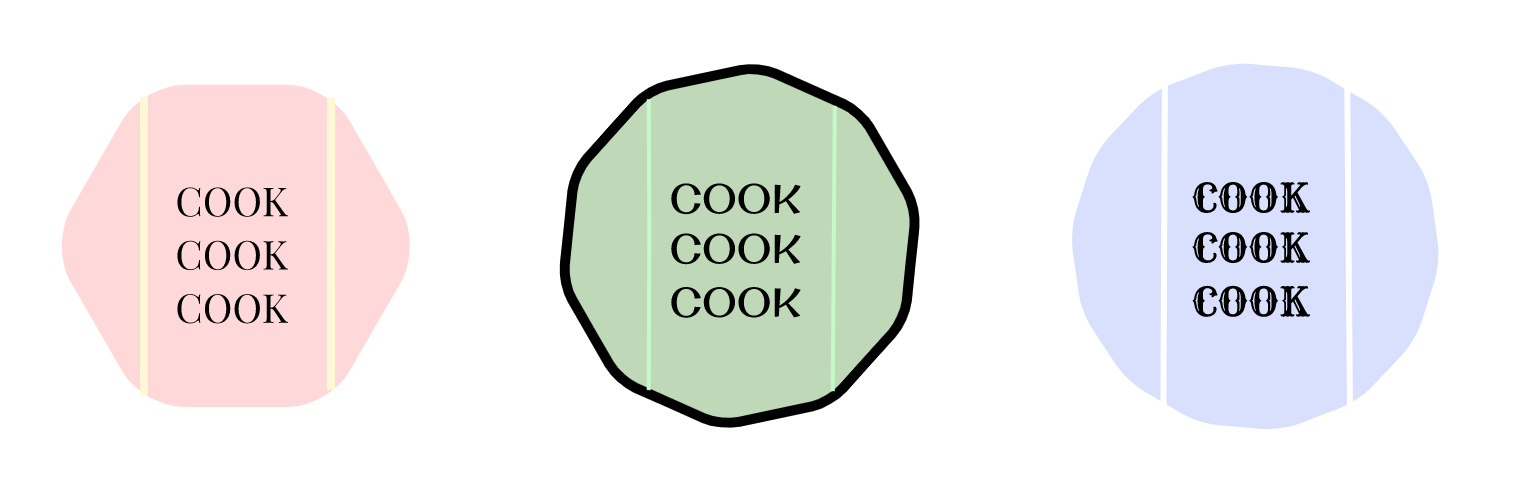 The name of my brand is COOK COOK COOK. I wrote the name COOK COOK COOK because my brand is a cooking class. This represents myself because back in Vancouver I had a lot of fun in my cooking classes. So, keeping that in mind, I decided to make a brand logo that refers back to my memory. My favorite logo is the one on the right. Purple is my favorite color so I think it looks very good. I also like the font that I chose, it's very unique and fun. 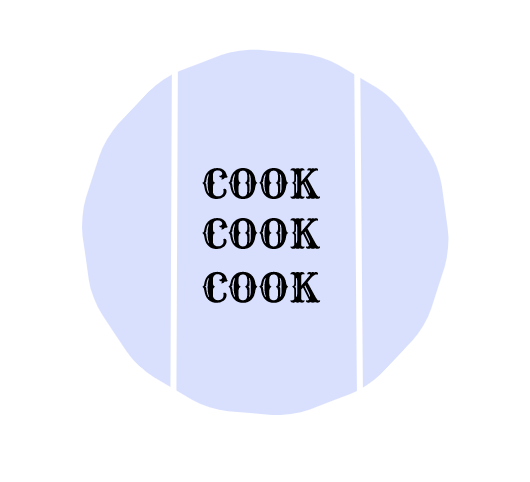
0 Comments
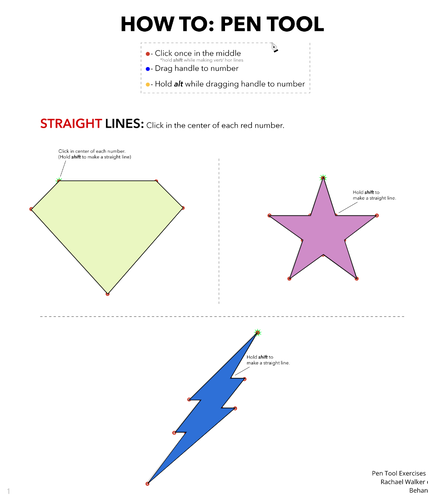
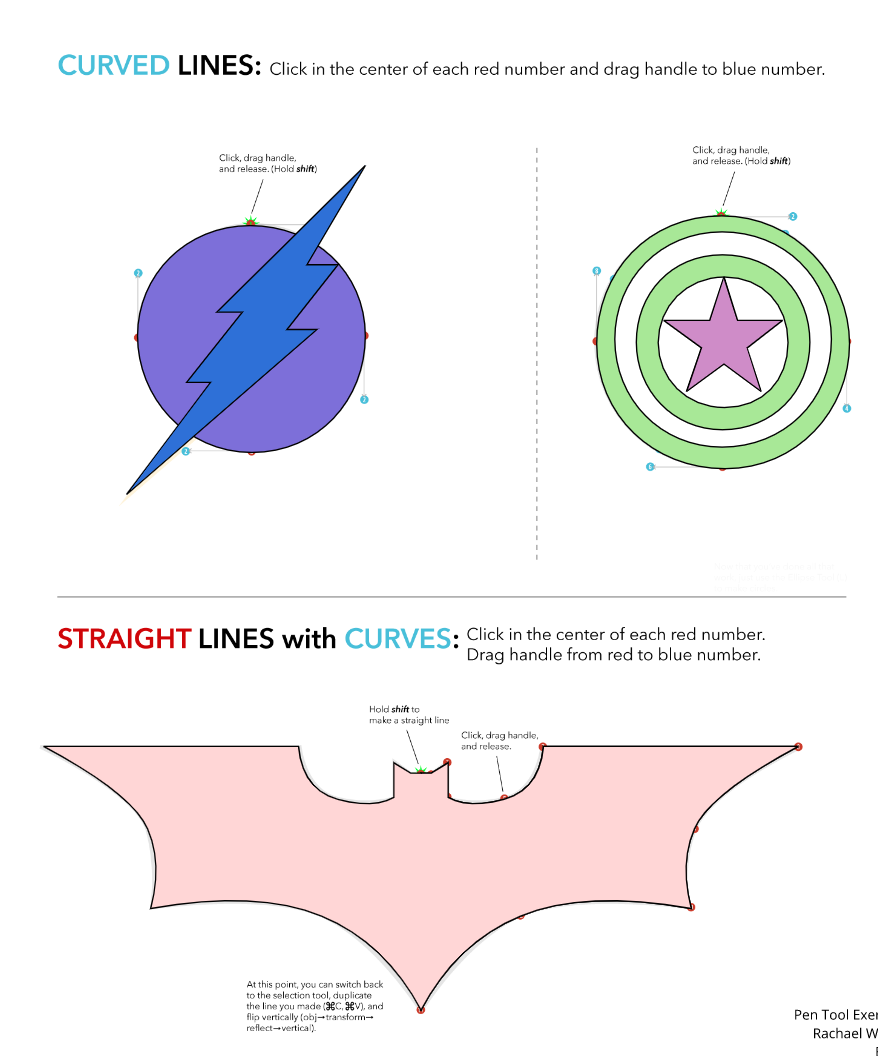
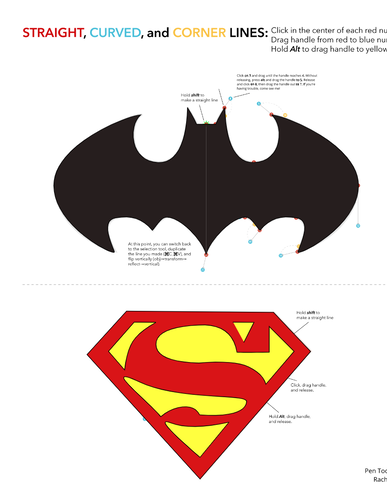
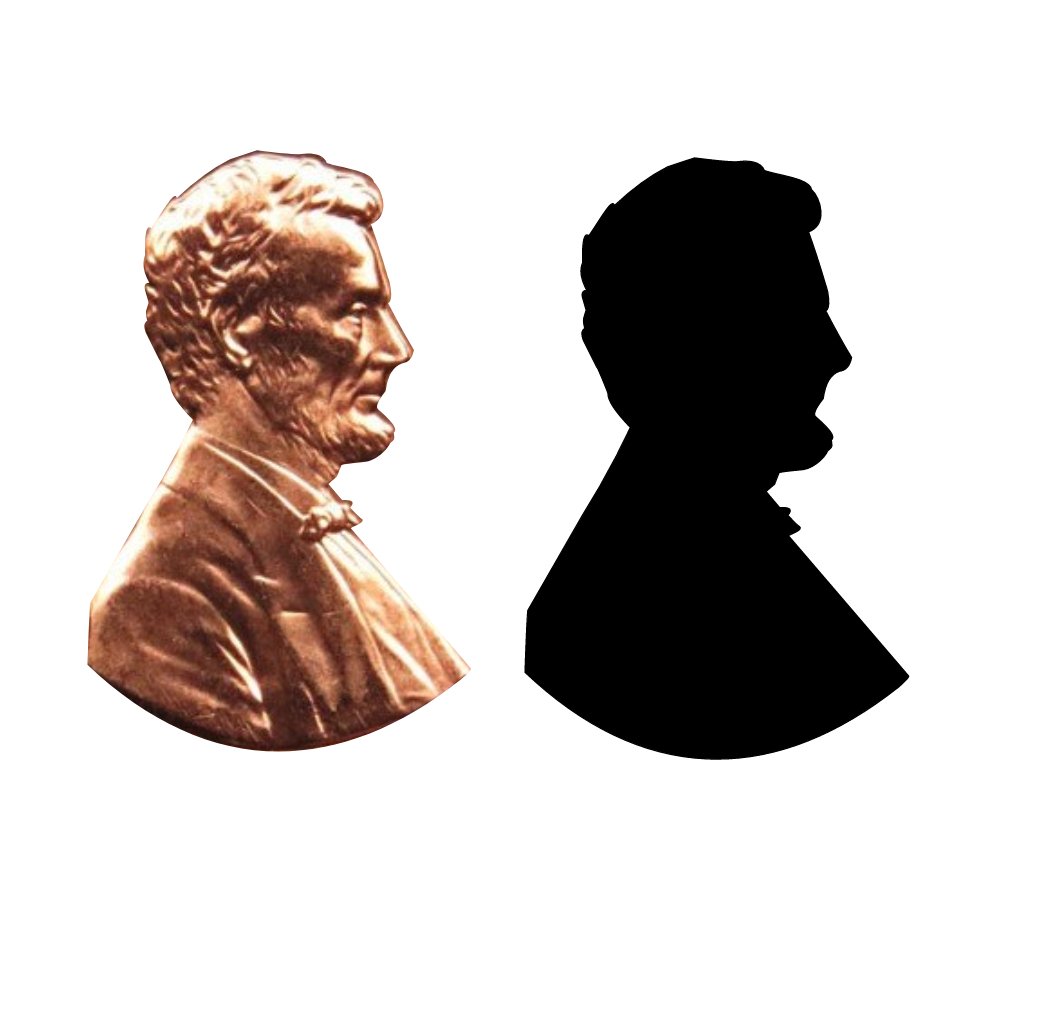
For the assignment, we had to work with color. The first assignment is called "Color Names". We were assigned to choose a random color from Gravit and write the hex code and the RGB below the shape with the color that matches the codes. The second assignment is called "Color Schemes". For this assignment, we had to choose our colors from the website called Adobe Color. From this website we had to write the hex codes for the follow types of colors: analogous, monochromatic, complementary, and triadic. I made 5 circles with unique colors for each of the types. Color Names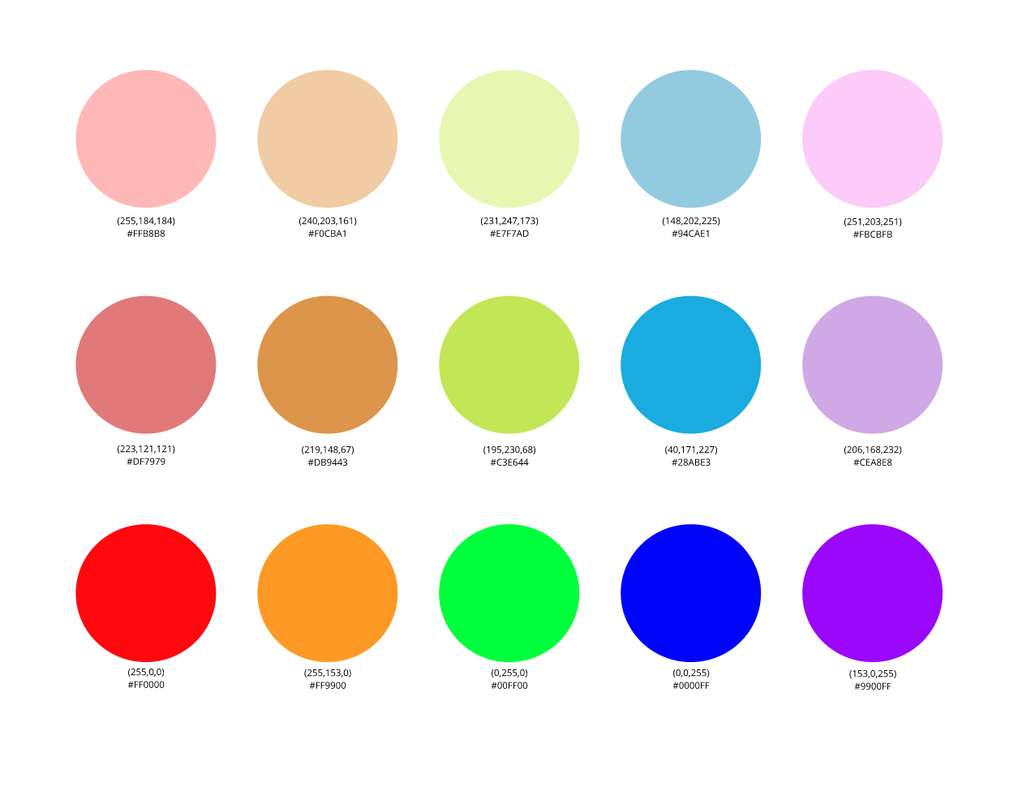 Color Schemes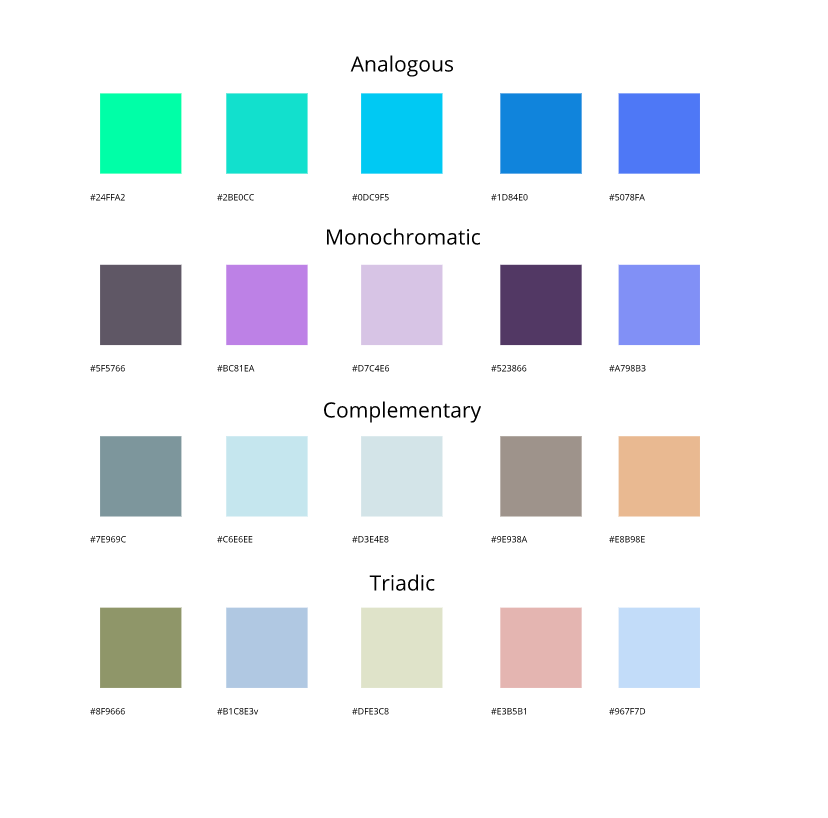 Typography is the arrangement of letters and text that makes the everything very visually pleasing and clear. Typography is what brings text to life. Typography is so important because it can provide a very good visual representation of what you want to convey to the viewer. The quote, "Each font has a personality and a purpose" means that the fonts can represent a feeling that you want to show through. The five fonts that I've learned in this lesson is serif, san serif, monospaced, script, and display. Serif has small strokes at the end of the letters and they are most used in newspaper articles. San serif doesn't have any strokes at the end, they are the basic fonts that people use in essays. Monospace fonts have an equal amount of spaces in between each letter, they are used when you want a typewriter font. Script is curvy and fancy, it can be used in writing modern scripts or just for appearance. Display fonts are funky, they can be used in ads for appearance as well. Typeface ComparisonFor this assignment, I used the same phrase but in different fonts. Here is my word for this assignment: 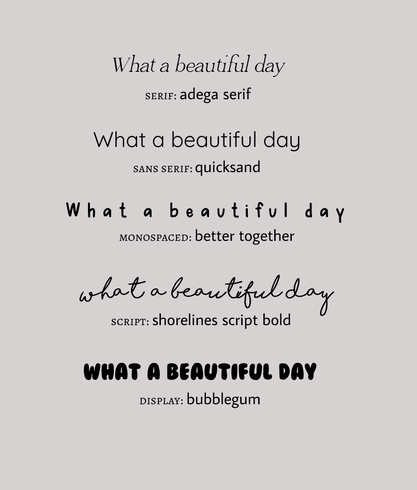 Word PortraitsIn this assignment called "Word Portraits", I used 10 different fonts with two words with the same font. The word on the left matches the font, the word on the right doesn't. The name of the fonts are on the top left hand corner for each. Here is my work: 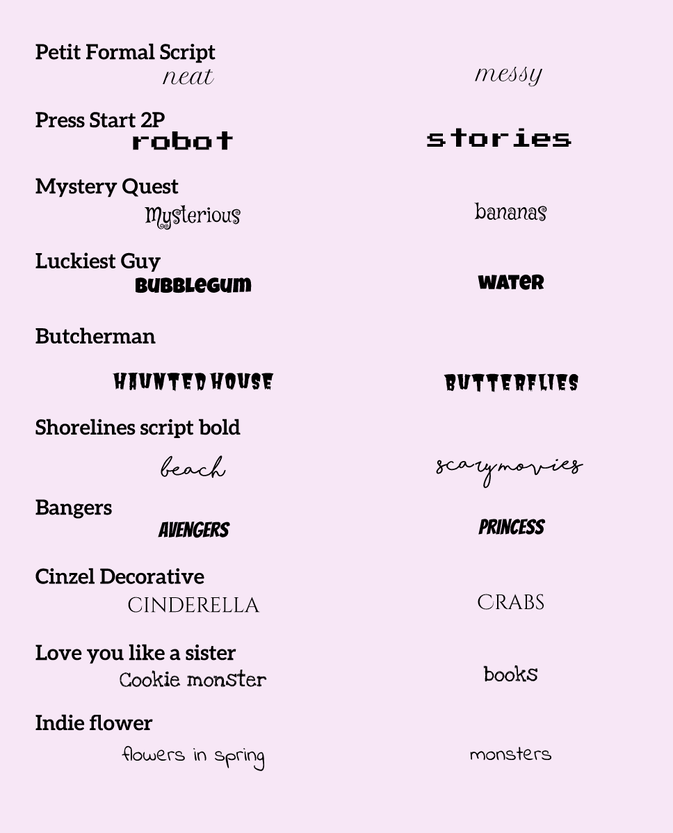 In this unit, we learned how to use the pen tool. The pen tool is a tool for cutting out shapes. We did many exercises using the pen tool. This includes the exercises introducing the pen tool where i cut out simple shapes to very hard shapes like the spider. The second assignment was the penny exercise where we practiced cutting out specific things like the man in the coin. The last assignment was choosing two pictures and making a scene. My scene includes a person and a cloud for the background. It's a girl sitting on top of the clouds. Each of these assignments taught me the importance of the subselect tool because after tracing it, you can use the subselect tool to go back and retrace or edit the shape. When cutting out the shapes, one of the hardest thing was to accurately trace over it. I also learned how to make the shape have a slight curve or a big curve by clicking the touchpad when tracing it so that it makes a curve. When you need to make a curve and then trace a straight line, you must click "alt". I enjoyed this unit as we were able to experiment with many shapes and learn to use different keyboard options.
For this assignment, I have created a scene using some of the skills we've learned over the past few lessons. This assignment's purpose is to create a scene that i want to show. If you look below, i've created a park on a snowy day. I think many of us have been staying home a lot because of virtual learning and haven't had the chance to go outside and enjoy playing outside! I, myself, have been trying hard to go outside instead of staying home too much. So i strongly encourage everyone else to appreciate nature and be healthy! 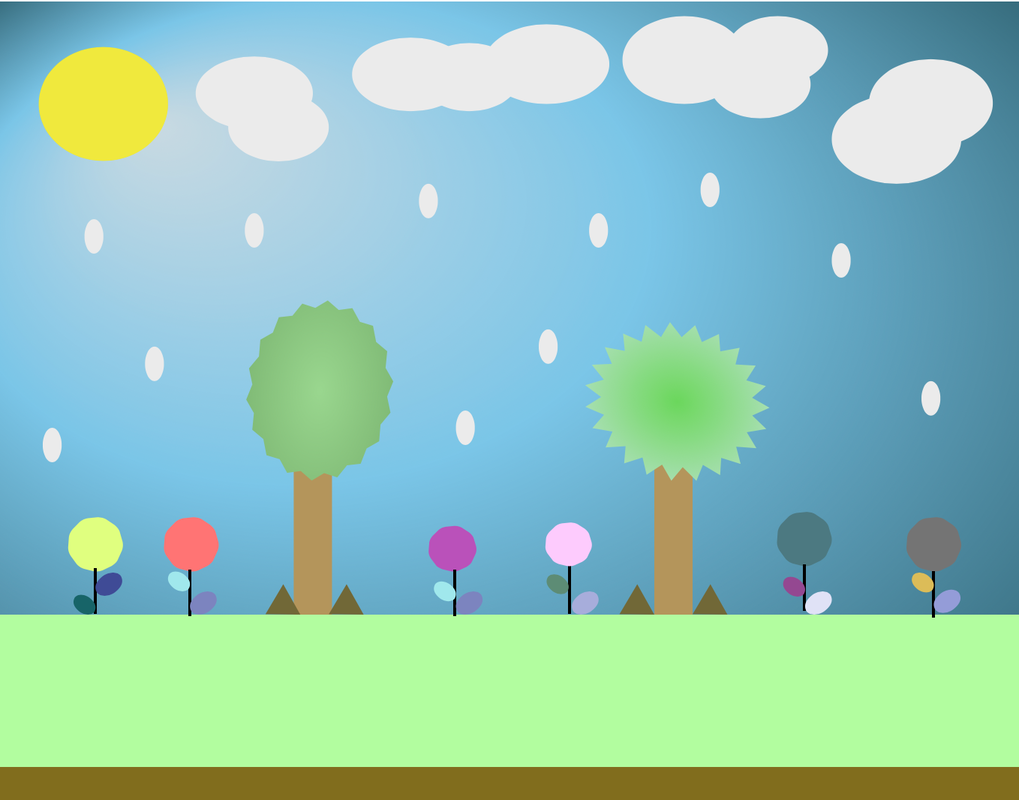 For this assignment, i learned how to control the size, points, and corners of each shape. The two rows below are the shapes that i've customized using the controlling tool. On the third row, I expiermented with union, subtract, intersect, and difference. 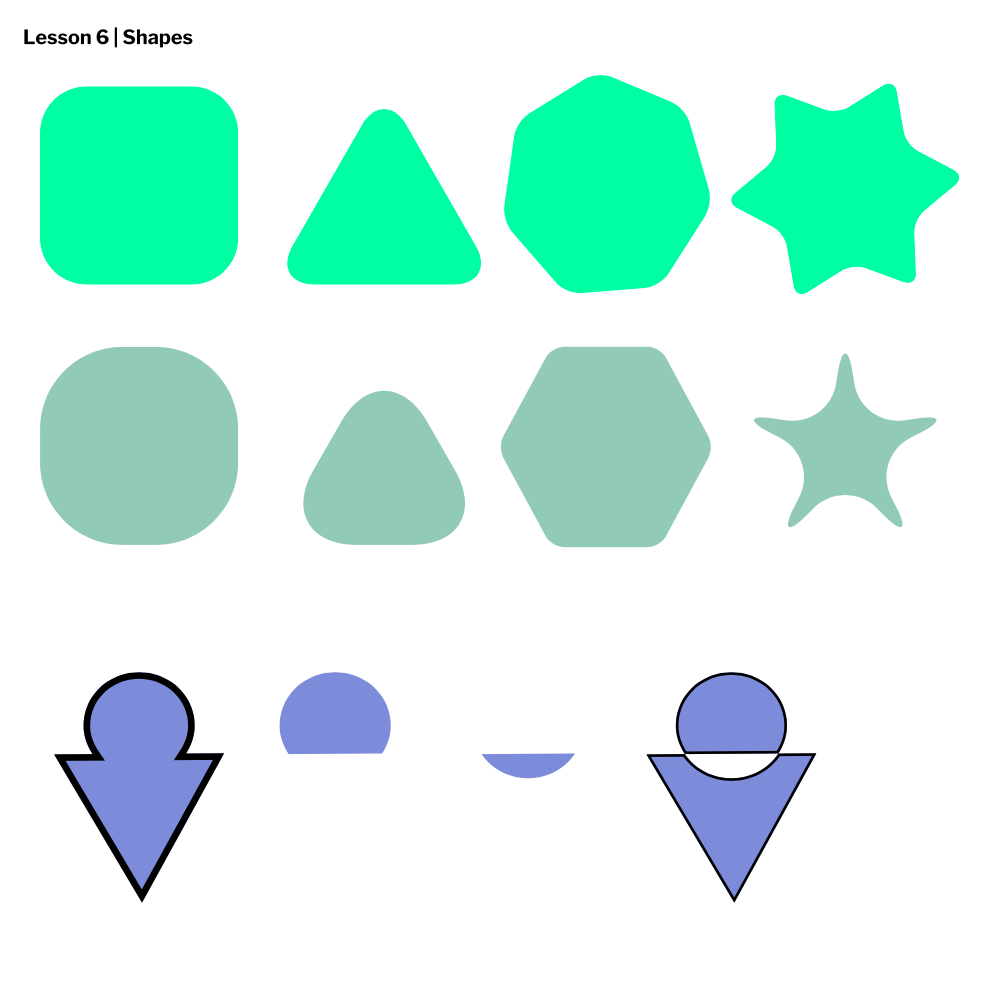 In this assignment, I learned how to properly align shapes so that they look neat. In order to do this, you must click on the thing that says "align horizontally". I also learned how to group shapes by highlighting the shapes and then pressing "command g". 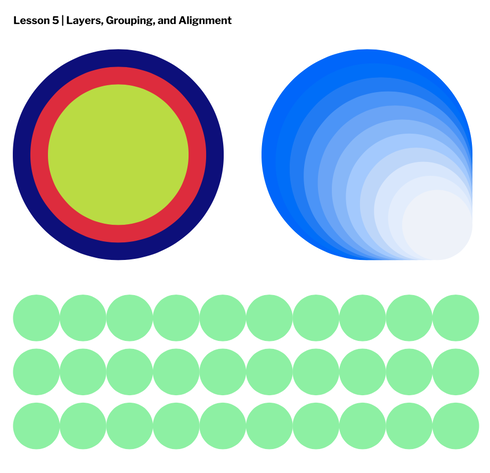 Today I learned how to make borders for the following shapes. I also learend how to adjust the transparency of the shapes and add dash lines by my choice. I was able to work through all of the shapes well. 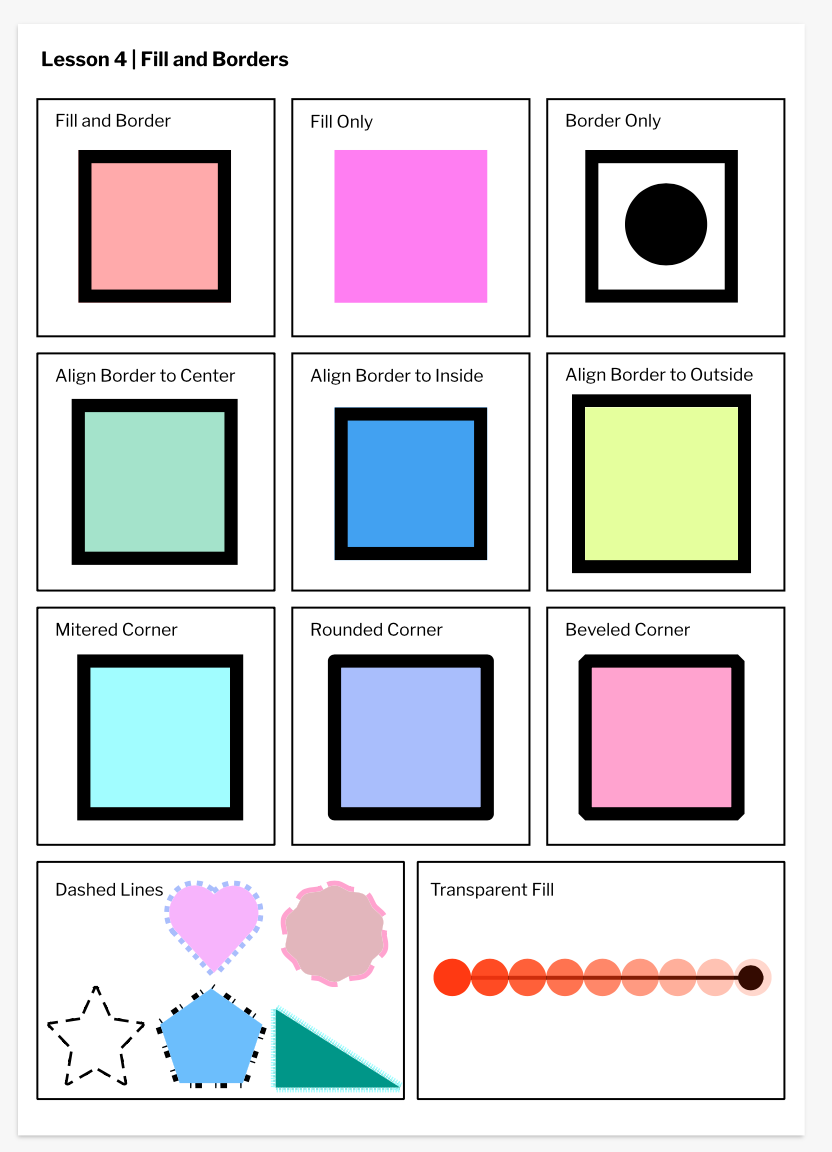 I learned how to use the pointer tool and the subselect tool. I was able to use both of them to create unique shapes. I learned shortcuts for creating a line, rectangle, and an ellipse. 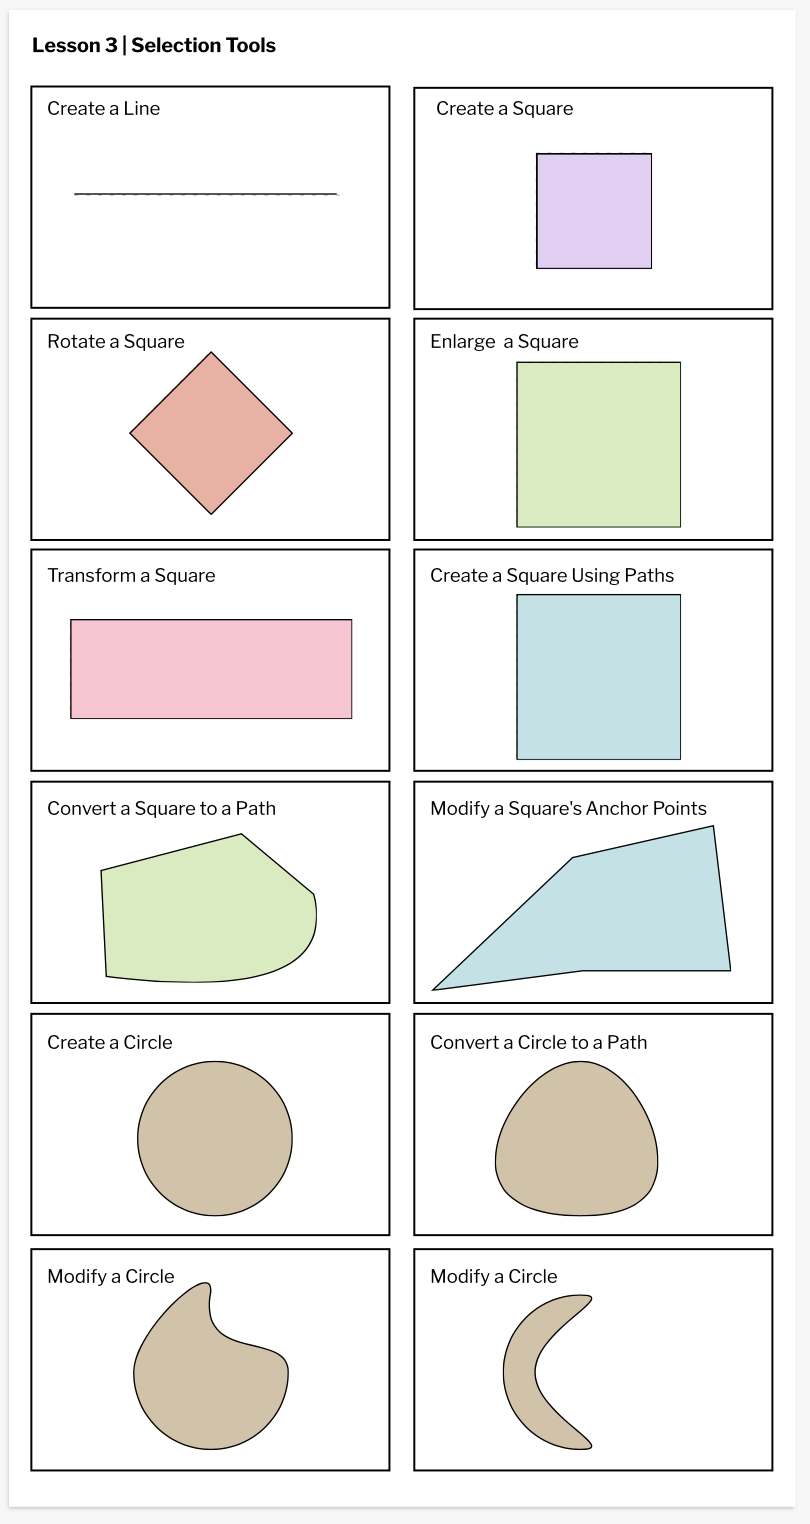 In Gravit, I learned how to change the sizes of each page. I also learned how to align the text so that it looks neat and tidy. I changed the fonts and colors to my liking. I like how mine turned out and am looking forward to finding out more about Gravit. 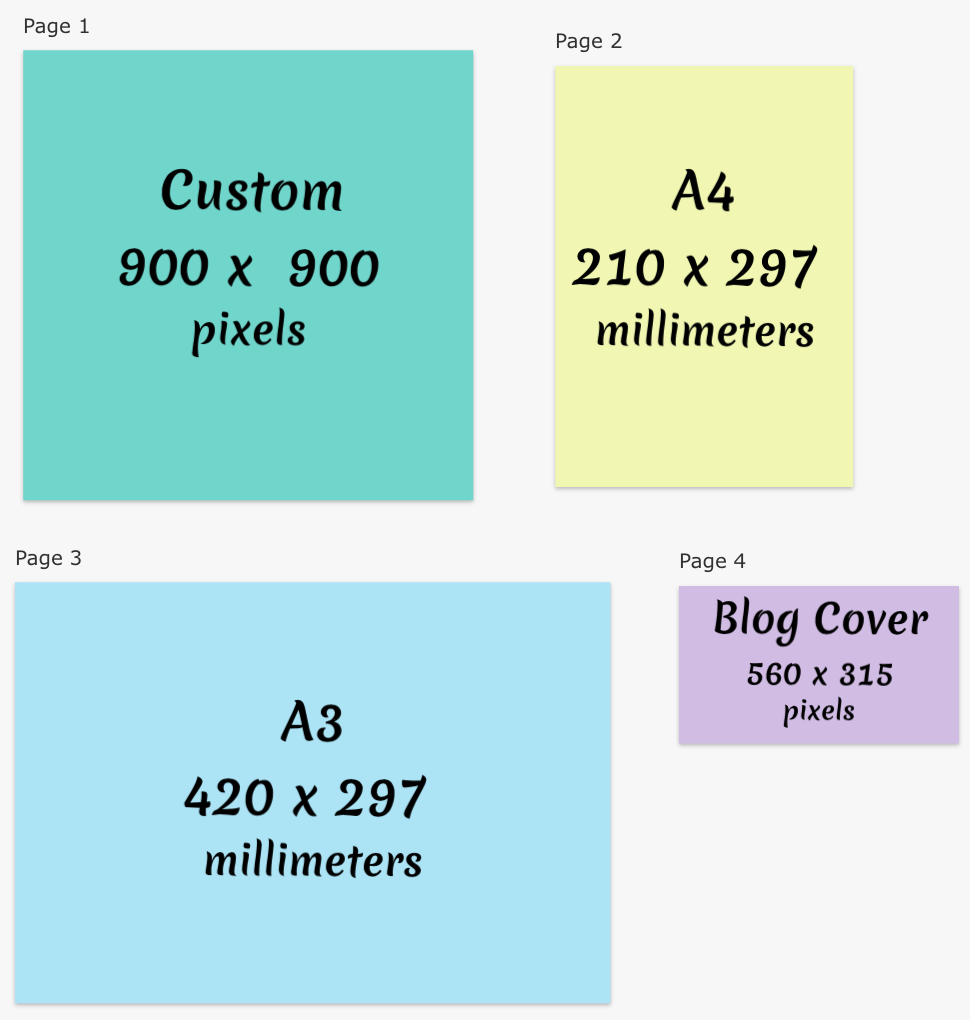 |
Archives
November 2020
Categories
All
 This work is licensed under a Creative Commons Attribution-NonCommercial-ShareAlike 4.0 International License. |